5.0 ★★★★★ on Google — See Verified Client Reviews
EkBe Beauty
• Schedule your remover session at least 6–8 weeks after your last PMU or tattoo procedure to allow complete healing.
• If you have had laser removal previously, wait at least 8 weeks before undergoing remover treatment.
• Avoid sun exposure and tanning beds for at least 2 weeks before your appointment. Do not treat tanned or sunburned skin.
• Discontinue use of retinoids, AHA/BHA acids, and exfoliating products on the treatment area
for 1 week before your session.
• Avoid blood-thinning medications such as Aspirin, Ibuprofen, Vitamin E, and fish oil for 24 hours before the procedure unless prescribed by your physician.
• Refrain from consuming alcohol for 24 hours before treatment to reduce the risk of bruising and bleeding.
• Avoid caffeine on the day of your procedure to help maintain stable blood pressure.
• If you are taking antibiotics or any photosensitive medications, inform your technician beforehand
• If you have a history of keloid scarring, hypertrophic scars, or poor wound healing, inform your technician before the procedure.
• If you have a history of cold sores (herpes simplex virus) and the treatment area is near the mouth, consult with a healthcare provider. Antiviral medication should be started 2 days before the procedure.
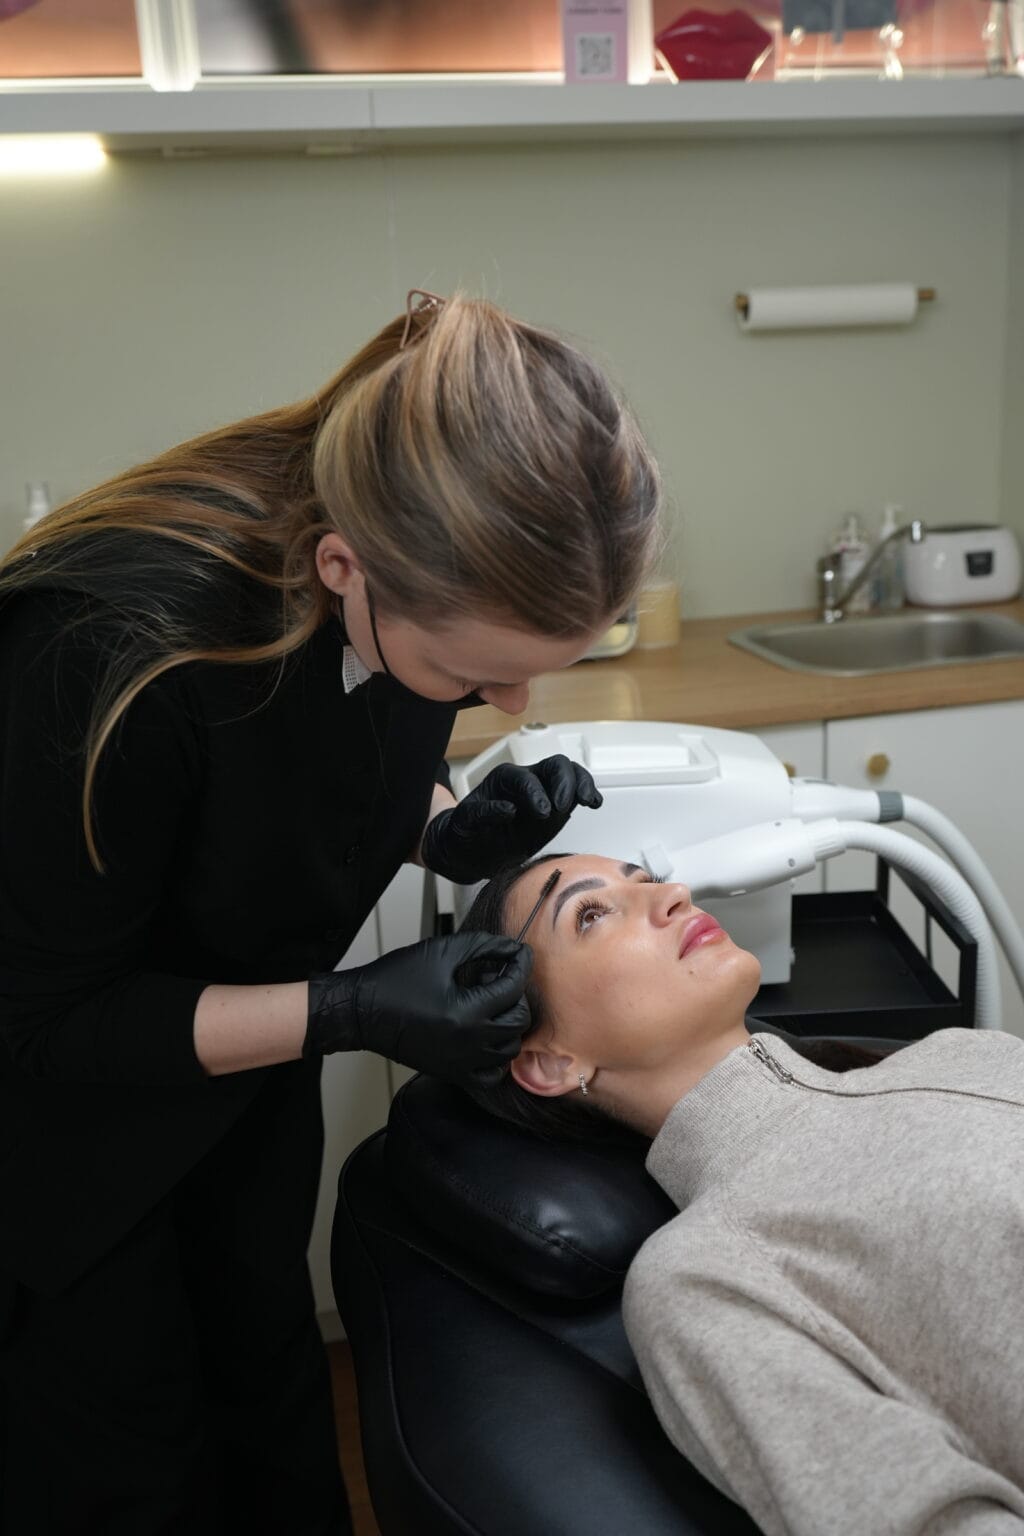
• Ensure the treatment area is free from cuts, abrasions, active acne, infections, or skin
conditions.
• You may be more sensitive during your menstrual cycle. Consider scheduling
your appointment outside of this time for increased comfort.
• Arrive with clean skin – remove all makeup, lotions, creams, and oils from the treatment area.
• Wear comfortable clothing that allows easy access to the treatment area.
• Eat a light meal before your appointment to maintain energy levels.
• Stay well-hydrated.
• Plan for downtime after the procedure, as the treated area will require careful management.
• The treated area will be covered with a bandage or protective dressing.
• You may experience a burning or stinging sensation for several hours – this is normal.
• Redness, swelling, and tenderness around the treatment site are expected.
DAYS 1–3:
• Swelling and inflammation will peak during this period.
• The area may weep clear or slightly colored fluid (lymph) – this is a normal part of the healing process.
• A scab or crust will begin to form over the treated area.
• Discomfort should gradually decrease after the first 48 hours.
DAYS 4–14:
• The scab will thicken and harden. Important: Do not pick, scratch, or forcibly remove the scab. Allow it to fall off naturally to prevent scarring and infection.
• Pigment will lift out with the scab as it sheds.
• Itching is common during this phase – resist the urge to scratch.
• The treated area may appear lighter or have a temporary “halo” effect as pigment is extracted.
WEEKS 2–8:
• Once the scab has completely fallen off, the skin underneath may appear pink or lighter in color.
• Pigment fading will continue as your skin regenerates.
• Full healing and final results are typically visible 6–8 weeks post-treatment.
• Multiple sessions (usually 1–3) spaced 8–12 weeks apart may be required depending on pigment depth and desired results.
Our team is always here to help you find the most convenient appointment time. Message us now, and we’ll get you booked in!